Can you paint straight onto plasterboard? Yes, but achieving a smooth, professional finish requires proper preparation. Plasterboard’s porous surface can cause uneven paint absorption, leading to patchy results if not treated correctly. This guide provides the best tips to ensure flawless coverage, including applying a mist coat, sealing the surface, and choosing the right type of paint.
You’ll also learn how to fill joints and holes, sand for an even texture, and address moisture-prone areas like kitchens and bathrooms. Whether you’re a DIY enthusiast or a professional decorator, these expert tips will help you understand how to paint straight onto plasterboard efficiently and achieve a durable, high-quality finish.
A Guide to Plasterboard: Uses and Considerations
Plasterboard, often referred to as drywall or gypsum board, is an essential material in modern construction, widely used for creating walls and ceilings in both residential and commercial properties. Made from calcium sulfate dihydrate, it provides a strong yet lightweight structure, making it easy to handle and install. Its practicality lies in the speed at which it can be fitted and finished, making it a favoured choice for builders and renovators alike.
However, despite its many benefits, plasterboard is more prone to damage than materials like traditional plaster or concrete. It can be easily dented or scratched, meaning careful preparation and finishing are key to achieving a flawless result. Understanding these characteristics ensures a smooth and successful painting or decorating project.
How Do You Prepare Plasterboard Walls for Painting?
Proper preparation is key to achieving a smooth and professional-looking finish when painting plasterboard. Begin by thoroughly cleaning the surface to remove dust, fluff, and any lingering residue. Use a brush to sweep away loose particles, then wipe the walls with a damp cloth to ensure a clean and even base. This step helps the paint adhere properly and results in a flawless finish.
Next, inspect the plasterboard for imperfections. Ensure screws are countersunk so they can be seamlessly covered with joint filler. Lightly sand the surface using fine-grit sandpaper to smooth out any uneven textures. Taking the time to prepare the surface correctly ensures that the paint applies evenly and enhances the final appearance.
Fill any gaps or holes using a joint filler. Apply it smoothly over the joints and screw holes with a jointing knife, ensuring a level application. Allow the filler to dry completely before sanding it down to a flush finish. Once the surface is properly prepped and imperfections are addressed, you’re ready to start painting with confidence.
Why Should You Seal Plasterboard Before Painting?
Sealing plasterboard before painting is essential for achieving a smooth and even finish. This is where a mist coat comes into play. A mist coat is a diluted emulsion paint mixture, typically combined at a ratio of one part water to two parts emulsion paint. This initial layer helps to seal the porous plasterboard surface, allowing subsequent coats of paint to adhere properly and preventing patchy results.
To apply the mist coat, use a high-quality water-based emulsion paint. The process is simple use a roller for larger areas to ensure even coverage and minimise brush marks. This first layer will absorb into the plasterboard, reducing the risk of peeling or flaking in the final coats.
Once the mist coat has been applied, allow it to dry fully before proceeding. Not only does this step create a strong base for the next layers of paint, but it also highlights any remaining imperfections that may need attention. Taking the time to seal the plasterboard properly ensures a flawless, professional-looking result.
How Do You Fill Joints and Holes in Plasterboard?
Properly filling joints and holes is an essential step in preparing plasterboard for painting. Begin by applying a joint filler using a jointing knife, ensuring it covers all joints and screw holes smoothly. For best results, slightly overfill these areas so that, once dry, they can be sanded down to a perfectly flush finish.
Allow the joint filler to dry completely before moving on to sanding. Use fine-grit sandpaper to smooth out the surface, taking care to avoid scratching the surrounding plasterboard. Scrape off any excess filler and continue sanding until the area blends seamlessly with the rest of the wall. This careful preparation ensures a flawless and professional-looking finish once the paint is applied.
How to Choose the Best Paint for Plasterboard?
Selecting the right paint is crucial for achieving a long-lasting and visually appealing finish on plasterboard. To ensure proper adhesion and durability, opt for paints specifically designed for drywall or plasterboard. Emulsion paint is a popular choice for most indoor projects due to its smooth application, versatility, and quick drying time.
For moisture-prone areas such as kitchens and bathrooms, waterproof paint is highly recommended. This type of paint is specially formulated to resist humidity, prevent damp issues, and inhibit mould growth, ensuring a clean and durable finish. In some cases, fire-retardant paint may also be necessary, particularly in areas where additional fire resistance is required for safety compliance.
Proper ventilation is essential during the painting process, especially in enclosed spaces, to prevent moisture buildup and ensure even drying. By selecting the right type of paint based on the room’s specific requirements, you can achieve a professional, long-lasting finish on your plasterboard walls.
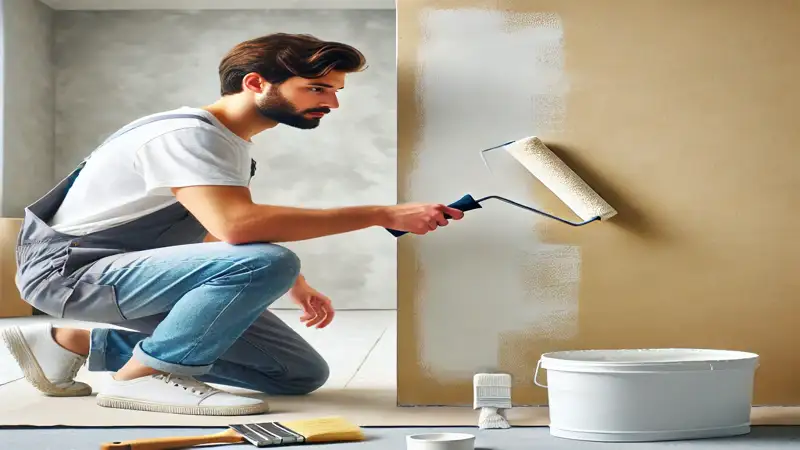
How to Paint Directly Onto Plasterboard?
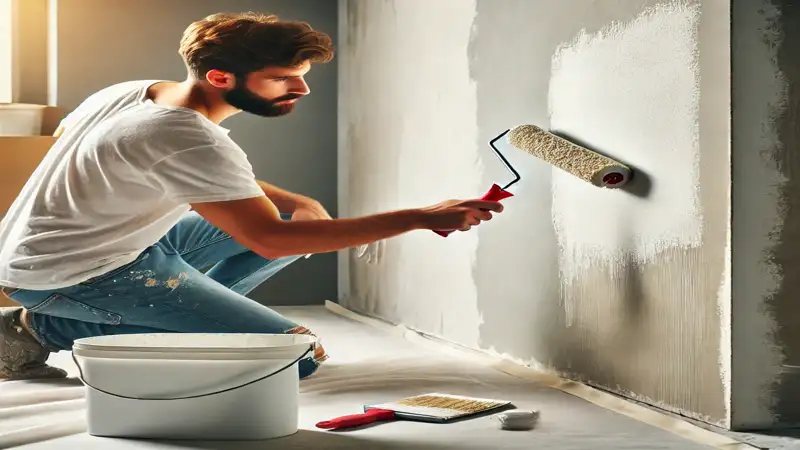
Achieving a smooth surface is essential when painting directly onto plasterboard. Start by filling any remaining imperfections and joints to create an even base. Apply paint in thin, even layers to avoid drips and ensure consistent coverage. Using a roller for large areas speeds up the process while delivering a professional-looking finish.
Opting for dark or matte paint can help conceal minor imperfections in the plasterboard. Typically, applying two to three coats of paint provides the best results. Lightly sanding between coats improves adhesion and enhances smoothness. With proper preparation and technique, you can achieve a high-quality, long-lasting finish while saving time and money.
Following these steps allows you to paint directly onto plasterboard with confidence, ensuring a smooth, even, and durable result.
How to Paint Plasterboard in Moisture-Prone Areas?
Painting plasterboard in high-humidity spaces such as kitchens and bathrooms requires extra precautions to prevent moisture damage. Skimming the plasterboard before painting can help create a smooth and adherent surface. Using waterproof paint combined with water-resistant plasterboard enhances durability and protects against humidity.
Water-resistant plasterboard is specifically designed to withstand higher moisture levels, making it an ideal choice for bathrooms and kitchens. In particularly wet areas, applying a waterproof membrane before tiling provides additional protection.
Taking these extra steps ensures that your painted plasterboard remains intact and visually appealing, even in humid environments.
How to Hide Plasterboard Joints for a Seamless Finish?
Concealing plasterboard joints is key to achieving a flawless finish. Use a jointing knife to apply filler smoothly along each joint, ensuring the filler is slightly raised above the surface. Once dry, use a sanding block to smooth out any rough edges and create an even surface.
If joints remain visible after painting, lightly sand down the seam and reapply a mist coat followed by additional layers of paint. For larger gaps or significant damage, reinforcing repairs with mesh tape over wet filler enhances strength and durability.
Can You Paint Straight onto Plasterboard
Tiling over painted plasterboard is generally not recommended due to potential adhesion issues. For ceramic tiles up to 30cm, ready-mixed adhesives can be used, but it is crucial to remove the paint beforehand. Stripping the paint allows the adhesive to bond directly with the plasterboard, ensuring a strong and long-lasting hold.
For larger format tiles, slow-setting cement-based adhesives are the best option. Again, removing the paint is essential to prevent the tiles from loosening over time. Proper surface preparation ensures better adhesion and durability. Once the tiles are securely in place, applying high-quality grout is important to fill gaps and seal the installation. Grout not only enhances the finished look but also prevents moisture penetration, maintaining the integrity of the tiled surface.
What Are the Final Steps in a Painting Project?
The final touches and clean-up are essential to completing a painting project with a polished and professional finish. Once the paint has dried completely, conduct a thorough walkthrough to inspect for any missed spots or imperfections. Having a second person review the space can help identify areas that need touch-ups. After all touch-ups are done, clean up the workspace by removing any masking tape, covering, and construction debris. Dusting surfaces, mopping floors, and organizing leftover materials will leave the area neat and ready for use.
Summary: Key Steps for Painting Plasterboard Successfully
Can you paint straight onto plasterboard? Achieving a professional finish requires careful preparation and attention to detail. Understanding the unique properties of plasterboard and following the correct steps from surface preparation to selecting the right paintensures a high-quality result. Addressing moisture-prone areas, sealing with a mist coat, and properly filling joints and holes all contribute to a smooth and long-lasting finish.
By following these guidelines, you can confidently paint straight onto plasterboard, knowing that each stage plays a crucial role in the final outcome. Success lies in thorough preparation, using suitable materials, and applying paint with precision. With the right techniques, you can achieve a flawless and durable finish that enhances your space.